2021-10-08T19:29:00Z New editing day has started. Last night when I first saw the low resolution preview image of satellite texture I was utterly disappointed, it looks so trashy with huge patches and those clone brushed cloud areas which few of them can be easily seen even from a low res preview.
Here are the original ArcGIS 17 level source image (left side) and edited final satellite texture (right side).
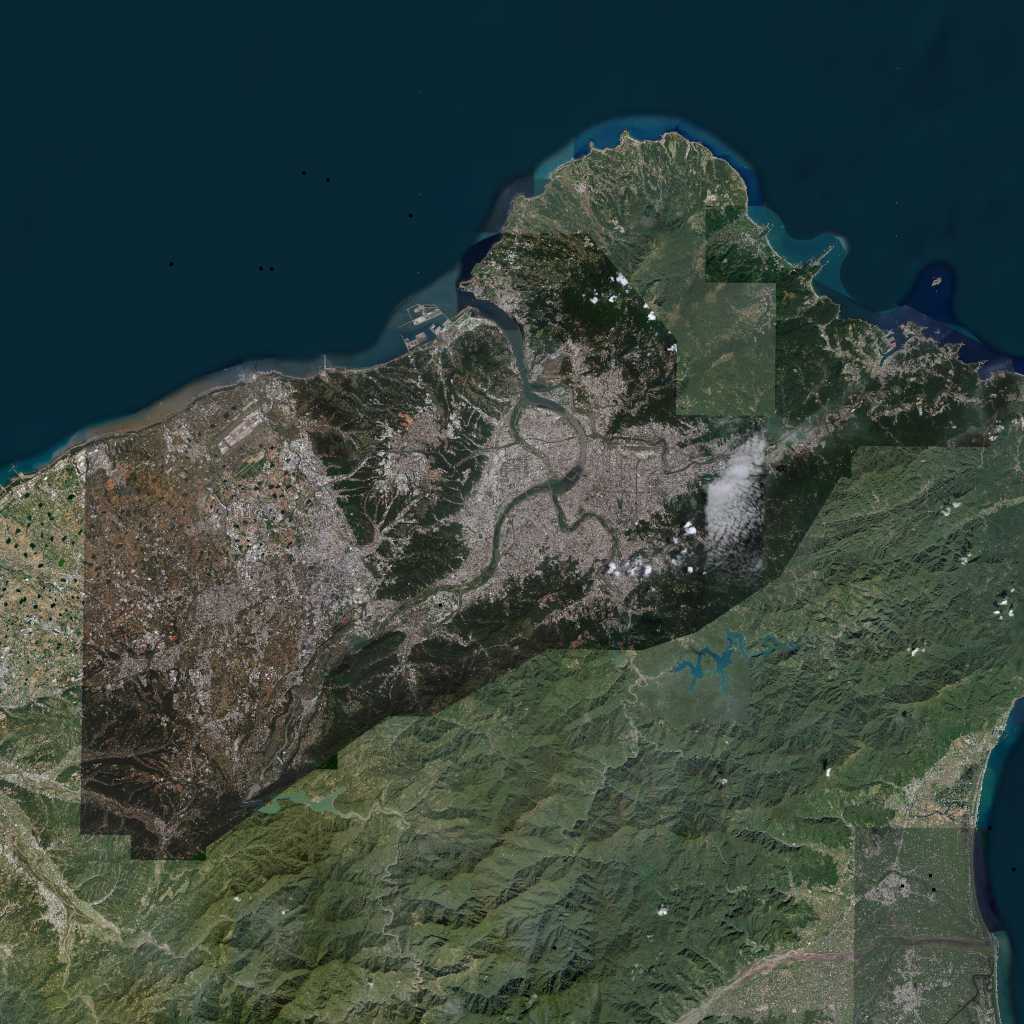
Looking at that final satellite texture its clear to see that ocean seabed sand texture is way too bright even after darkening the original source. Overall the satellite is not very dark, I'm using normal graphicsmagick darkening bat file settings which are as following, first number is darkening where 0 is completely dark and 100 is no darkening, second number (80) is color saturation.
_run_graphicsmagick_darken_and_picturemap_tiles_8x8_desert.bat
gm convert -modulate 70,80
_run_graphicsmagick_darken_and_picturemap_tiles_8x8_green.bat
gm convert -modulate 90,80
In GIMP loaded the ocean seabed sand seed pattern texture and darkened it a lot, brought down brightness -50 in value slider. Then loaded all the satellite mask XCF images and texture PNG images with coastlines into GIMP and shuffled selection over the texture and finally pattern filled this new darker pattern to it. Did this to all coastline tiles, plus sat_A1.png which is full ocean and then copied it over to other full ocean tiles.
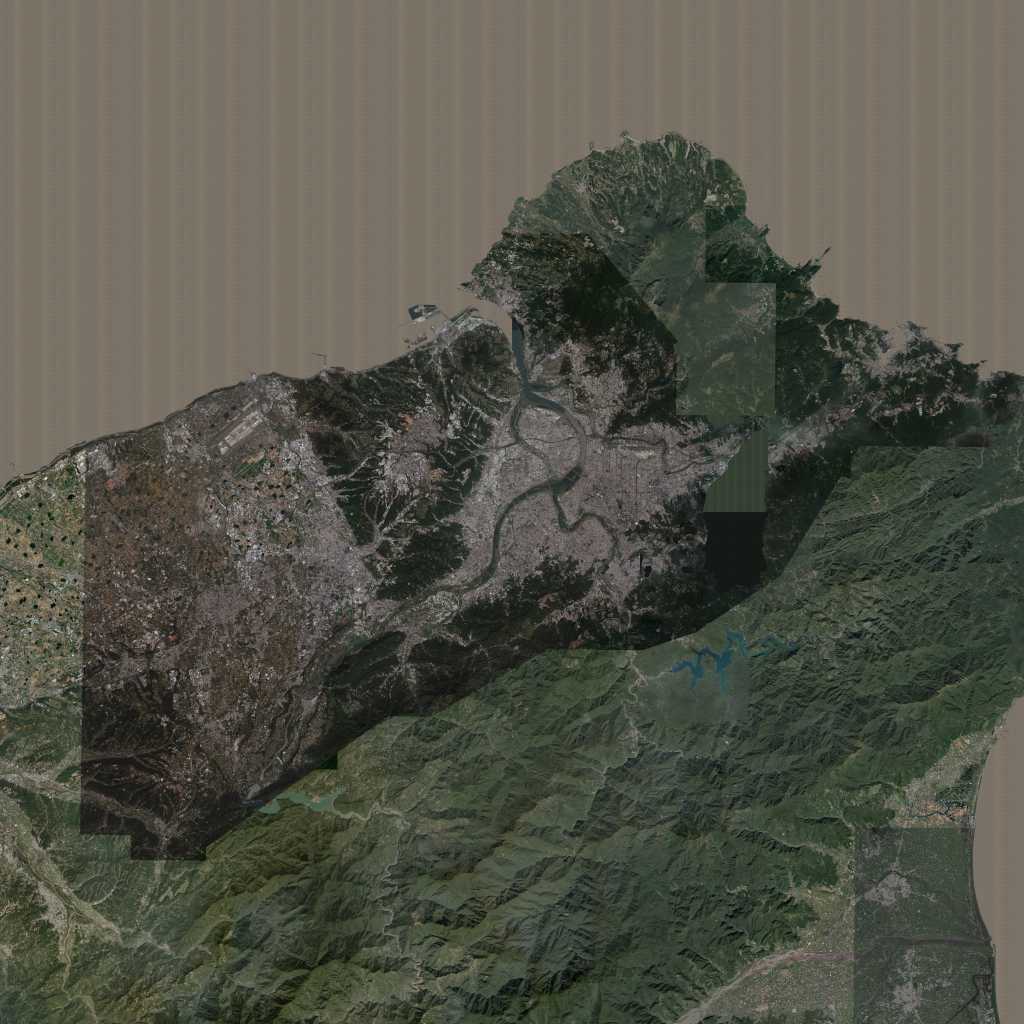
2021-10-08T21:21:00Z When finished that task used graphicsmagick to generate brand new darkened Sat_Tex_ images, here is the preview result.
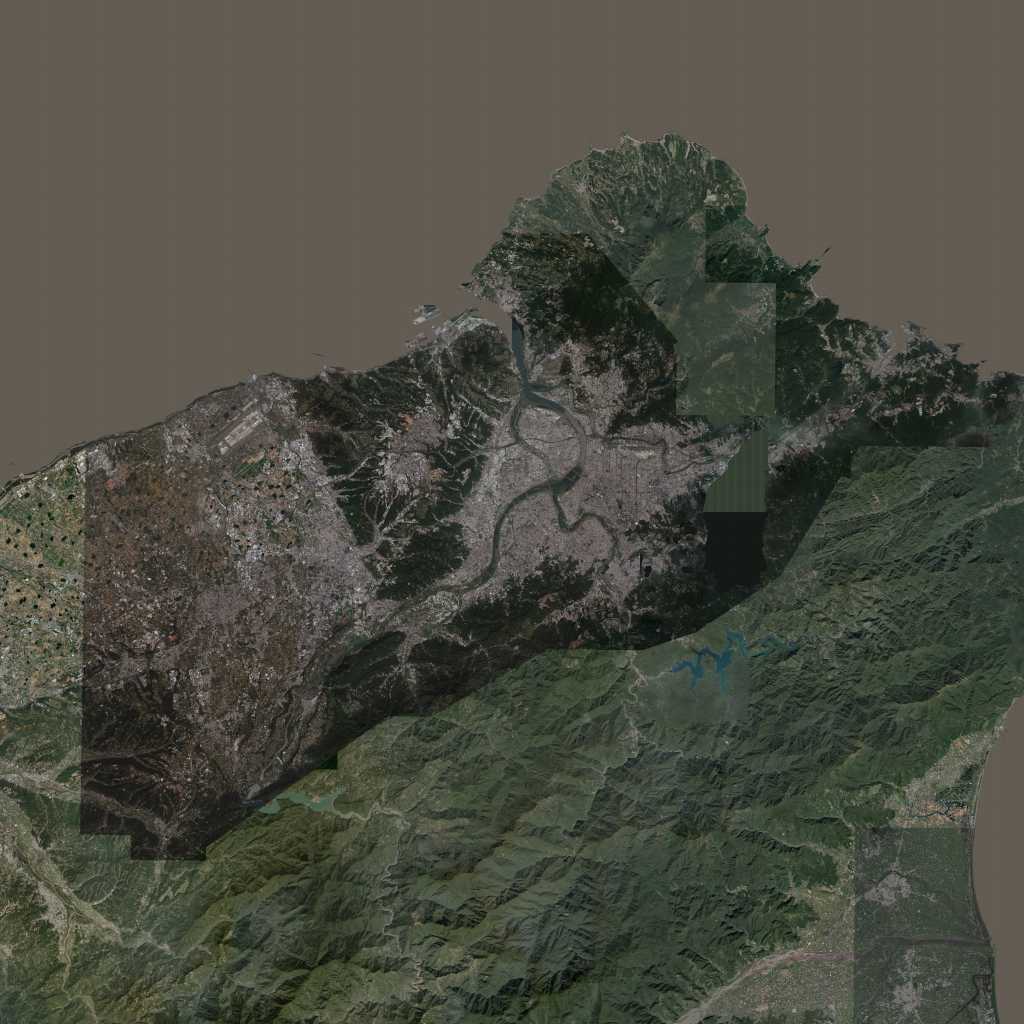
Somehow ocean seabed sand brightness still doesn't feel dark enough, but I guess that'll have to do for now.
2021-10-08T22:42:00Z Global mapper assigned colors to all OSM area shapes, this is now our satellite mask. Then started to export Sat_Mask_ in PNG images. However inspecting first PNG I discovered that "empty pixels" is saved as transparent, hmm I had that option ticked, didn't I, ok gotta fix that. This was my second time exporting OSM shape areas to mask method, I'll learn ![]()
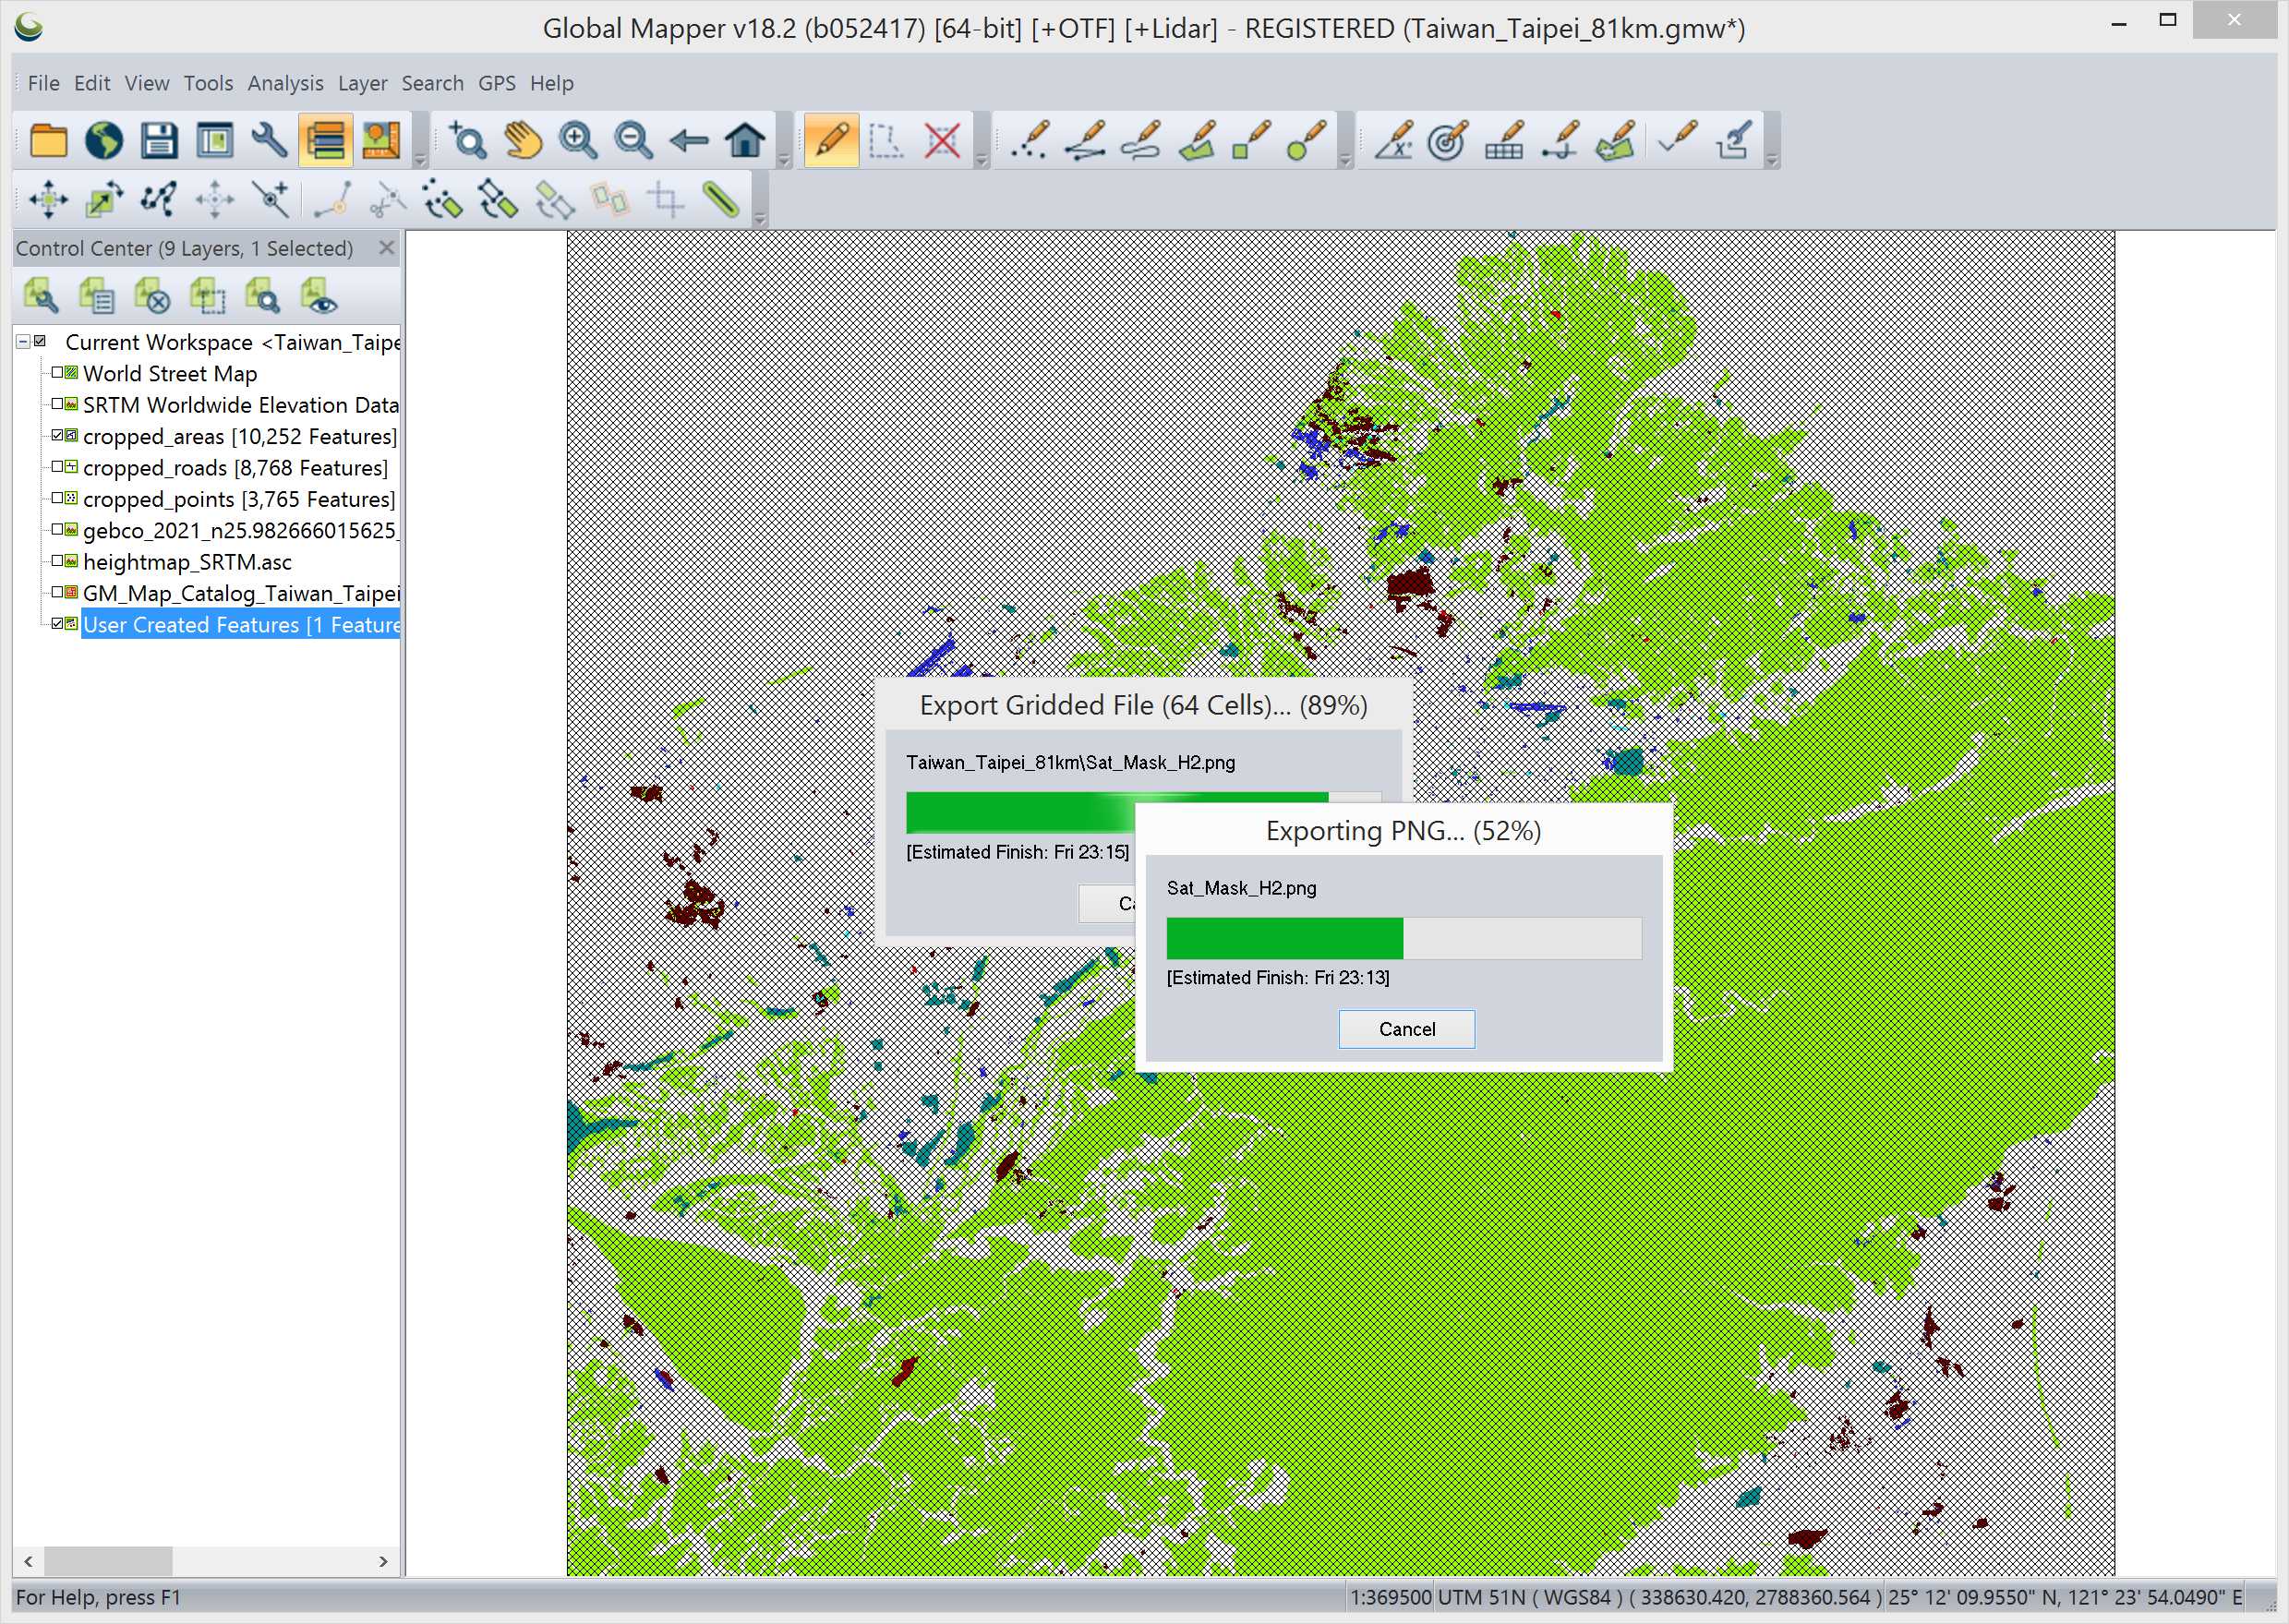
After exporting was done checked few of the PNGs and indeed all "non mask" areas were transparent, so decided to re-export it with the transparency option disabled. Checked Sat_Mask_A1.png and now it was RGB 255,255,255 white, good.
Next used graphicsmagick to convert Sat_Mask PNGs to BMP with white RGB fix. Goofed up there was the bat I ran was for 4x4 tiles, well then I fixed it for 8x8 and ran it, except yeah I fixed it for NUMBER EIGHT tiles but it was still only 4 CHARACTER tiles, A-D instead of A-H heh, oh well fixed that and ran it for the third time ![]()
When all that was done used terrain builder to import satellite mask and texture.
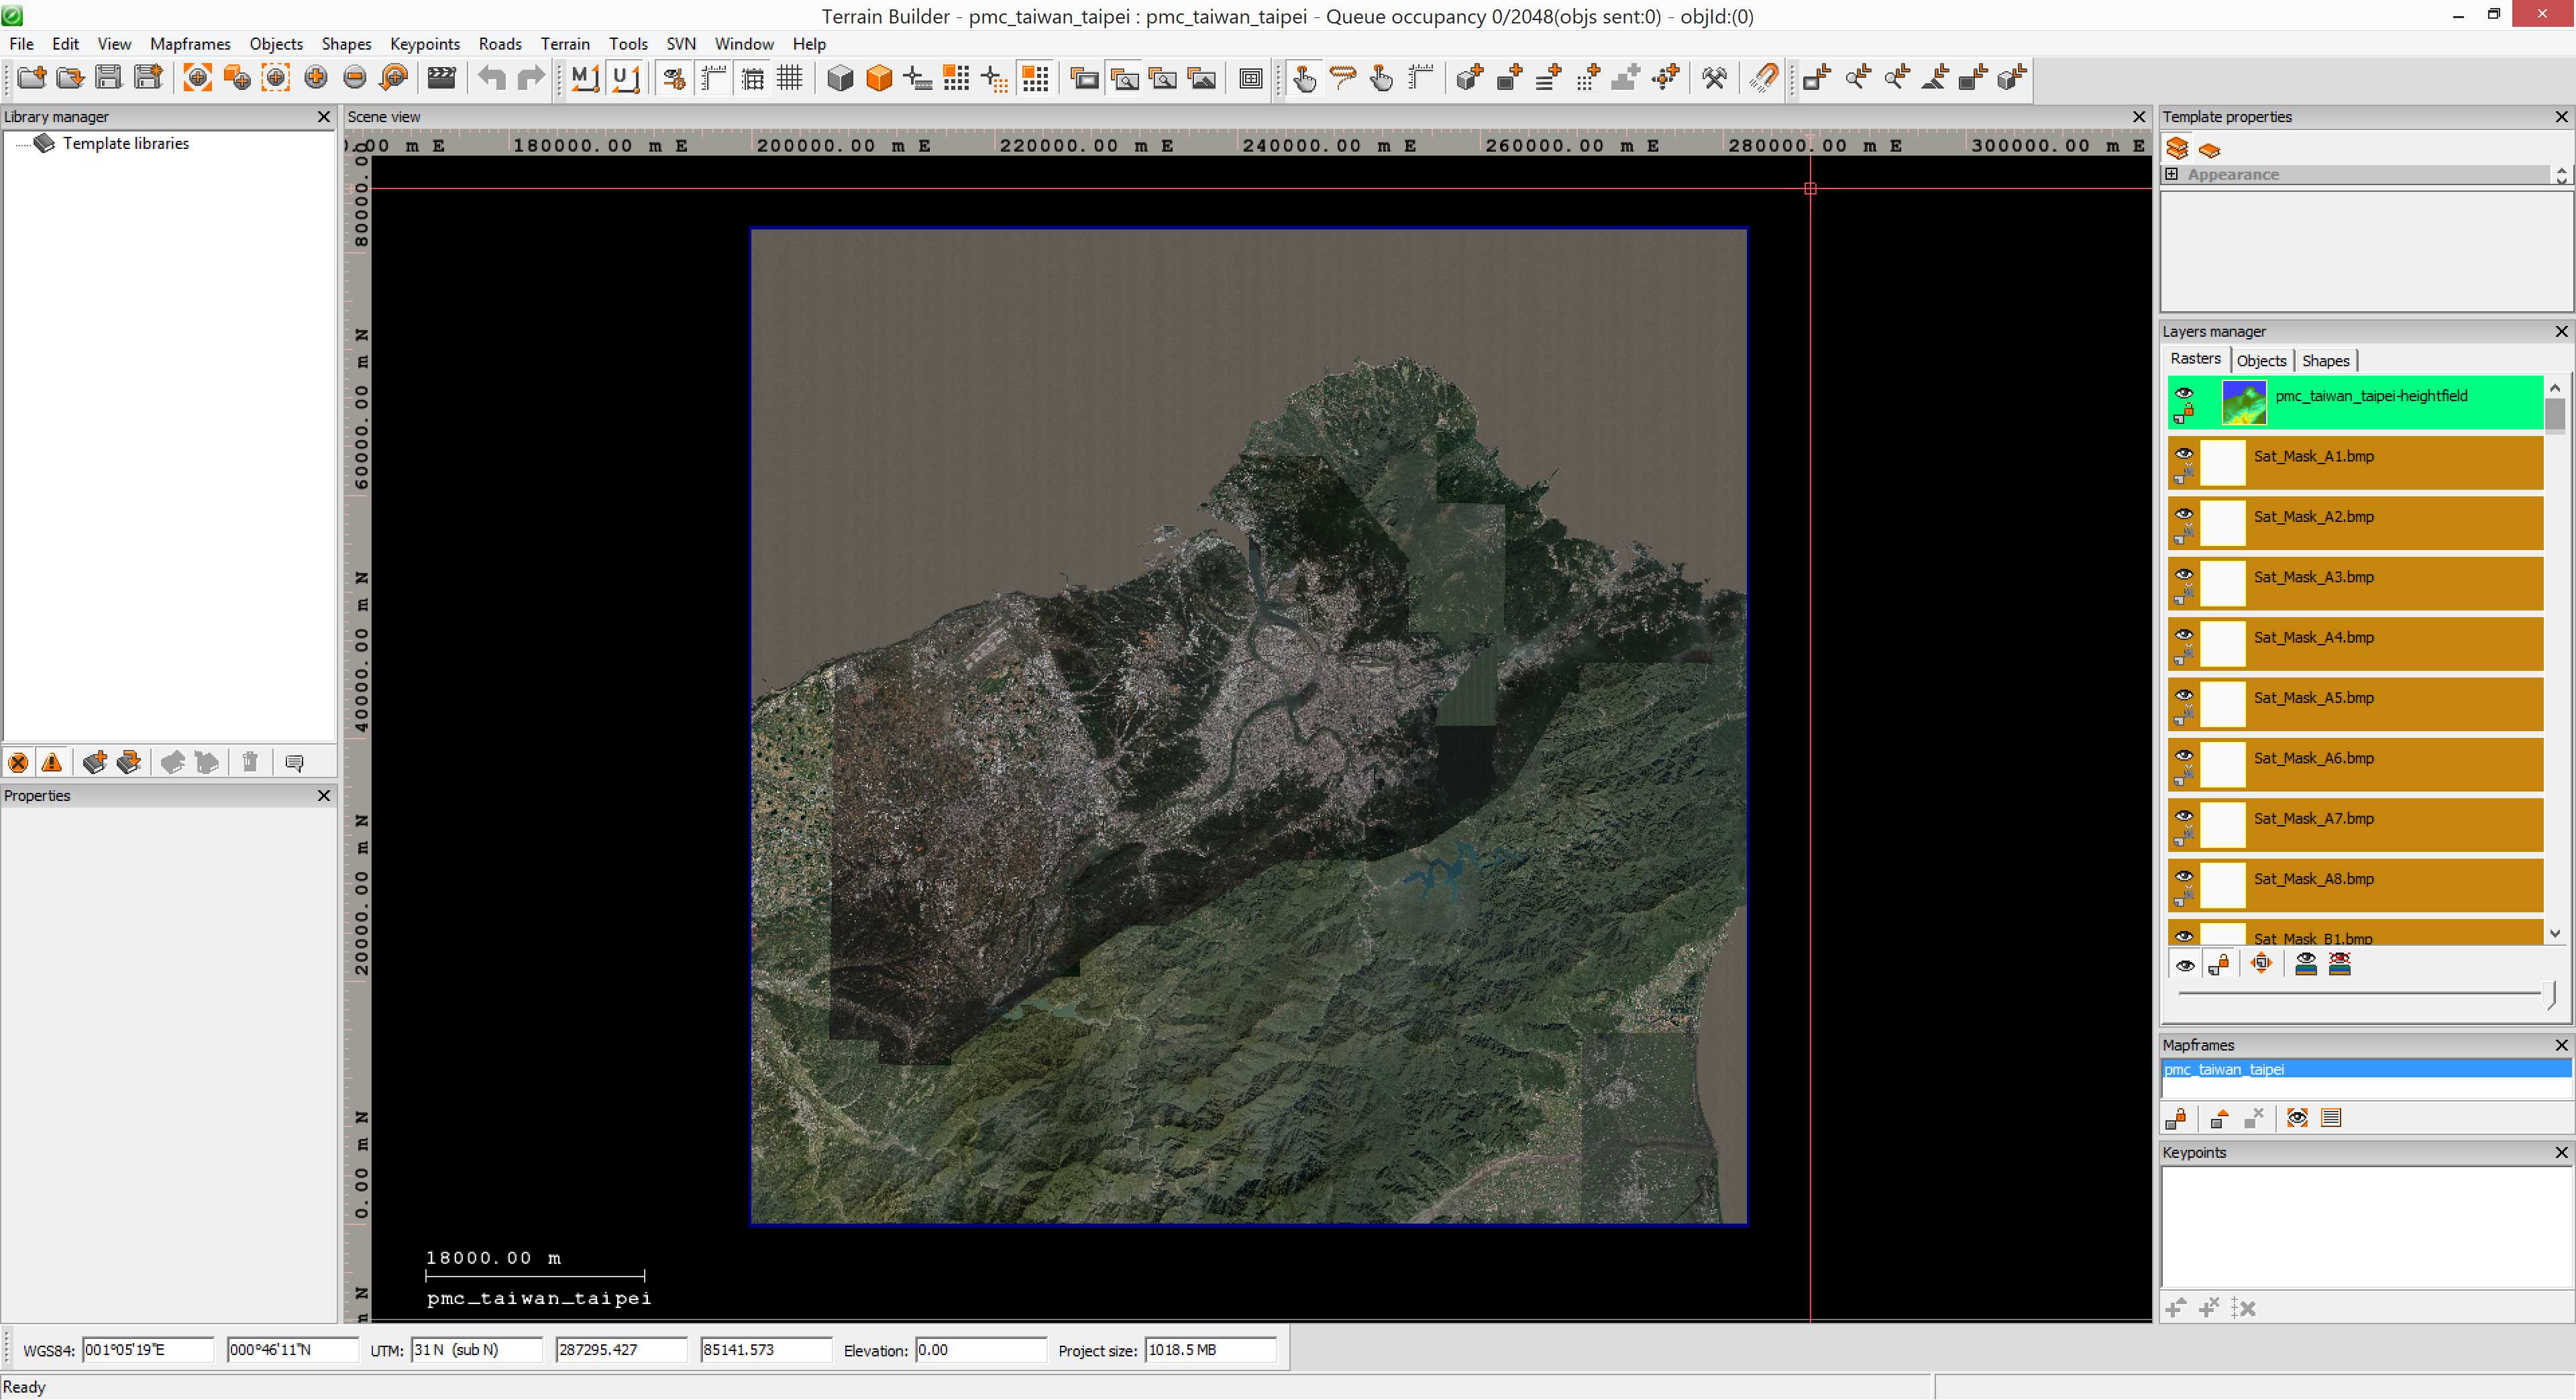
Satellite texture import felt like it took forever, but now its in. Next is generate layers heh.
2021-10-09T01:13:00Z Terrain builder generate layers texture started.
2021-10-09T02:25:00Z mask started
And of course I forgot to write down when satellite mask generation finished, its on dev diary videos heh. Next I used Convert Layers PNG to PAA Fast bat, as usual. Then Separate Data Layers for smaller PBOs bat, then layers RVMAT re-pathing using moveObject.
2021-10-09T05:05:00Z Started to work on new taiwan terrains ![]()
Continue reading page 4, previous page 2 or back to Dev Diary PMC Taiwan Taipei root page.
PMC Taiwan Taipei: Changelog, Dev Diary, Screenshots. Back to PMC Terrain's page.